We’re very proud of the fact that we hardly ever get plants returned to us. We take a great sense of pride in always trying to ensure our plants are fresh, not rootbound, young and vibrant. Anything too old, we work hard to move it on at a reduced price, or we pot it on to keep it growing.
So, you should feel confident that your purchases from us should have lots of vitality to ensure your chances of success are high.
But it’s not as easy as that!!
We want every one of our plants to succeed, and we want you to have confidence in everything you plant from us. So there are a few tips which you really can’t go wrong with….
Everything starts with the soil! If the soil isn’t right, your new addition won’t be happy, plain and simple. Since nearly all plants are grown in compost, and nearly all gardens have soil nothing like compost, guess what….you need to add compost! Chuck in two or three handfuls for a smallish pot, increasing with the size of the plant you’re planting (we’ll always advise if you’re not sure).
Black Magic!
Don’t plant your new plants without a few handfuls of compost to help them on their way. It’s not too important which one you use, it’s all about improving soil structure and they’ll all do that! Your new babies will love you for it!
2. This is a good time to add fertiliser too, for planting we’d recommend Bonemeal or some of the new mycorrhizal fungi to help the roots develop well….there are lots of differing views on fertilisers these days and to be blunt, as long as you don’t overdo it, you’ll do no harm.
Whereas Bonemeal simply gives a boost of phosphates to encourage root growth, some studies show that it takes a long time to benefit the plant. Using naturally occurring fungi to work together witht he plants’ roots, has been proven time and again to massively increase the food available to the plant, and consistently gives amazing results for plants planted in the ground (not so much in containers). We recommend it 100%
Feed it!
Mycorrizal fungi effectively give your plant a second root system which massively increases the nutrition available to them. It’'s amazing!
3. Water your plant BEFORE you plant it. We think this is the bit which accounts for
most plants dying in their first few weeks. Compost is great, but not without
its disadvantages. The biggest pain is that when compost dries out too much,
it’s a royal pain to get wet again! So you’re best to soak your new plant in a
bucket of water for 5-10 minutes, so they are soaked.
Soak it!
Even if it normally likes dryconditions, ignore that for now and soak it before you plant it. 5 or 10 minutes will be enough as long as you use a big bucket
4. Plant in the lovely mixture of soil/compost, with grit if necessary, you’ve created.
If you can’t see enough of a difference between your newly mixed soil and your
standard garden soil….you haven’t added enough compost! With a few exceptions,
always plant your new plant at the same level as it’s growing in the pot you’ve
bought. Too shallow and it may be unstable in wind, or exposed to cold. Too
deep and you might even kill it.
Plant with care…
Try and handle by the rootball if you can…the younger the plant, please handle with care; bruising the stem of
very young plants can really slow them down.
5. Firm it in well, but don’t murder it. This is a really important stage so that your babies don’t move around too much after planting.The more you push down or heel it in, the more
air you’re taking straight out of the soil, that you’ve worked so hard to put
back in. General rule of thumb; the bigger the rootball you’re planting, the
firmer you can be.
Steady now….
Whether you use your hands or your feet, firm the plants in to settle them but don’t be too brutal. Remember those roots need lots of air to thrive….
6. Water it in! Give it a good soak to settle the soil naturally around the rootball.
This then prepares your new plant for it’s next few weeks of watering, which
we’ll cover in another addition to the blog.
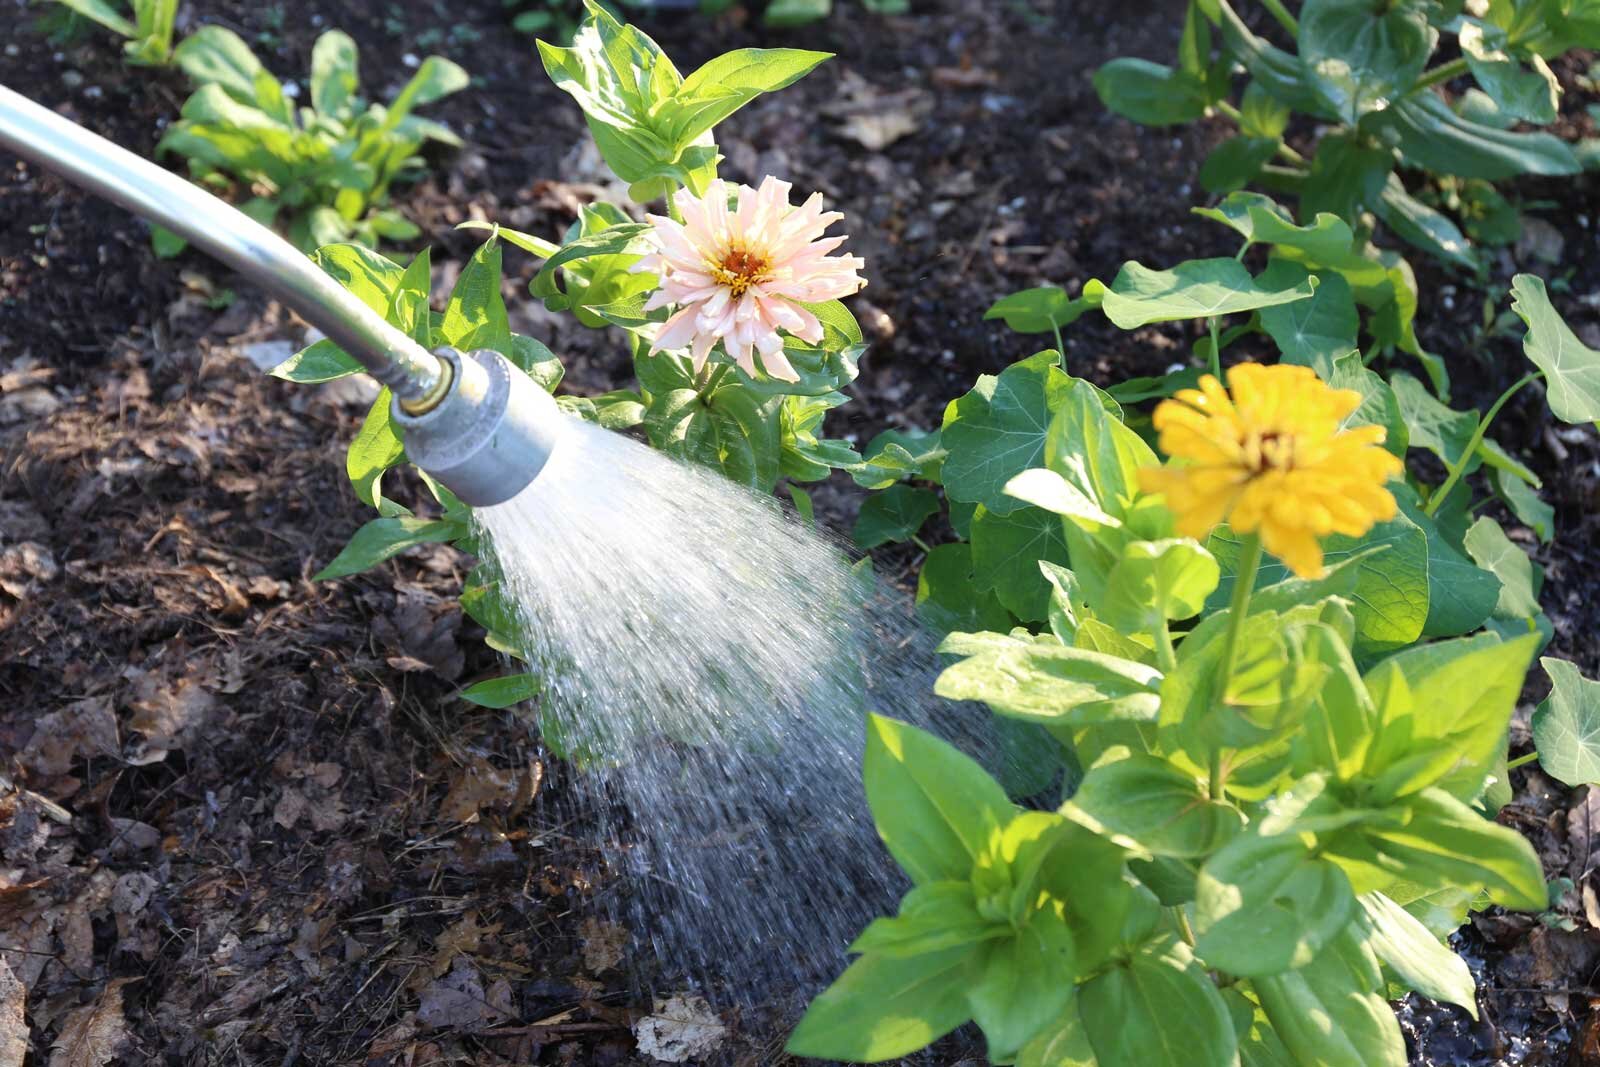
When you water a new plant in, water where it needs it….at the roots or in the soil. Watering overhead, particularly on a bigger plant, mean the water hits the leaves and doesn’t hit its mark. It’s a waste of your time, a waste of water, and your new plant simply won’t benefit.
Get the water right at the base of the plant, and at the soil immediately around the rootball. The rootball is already wet because you soaked it already. Now you want to wet the area around the plant, so the roots have something nice a moist to start working into. And boy do they do this quickly. Roots will hunt out new territory immediately, and often within 24 hours they start growing out. Clever things, aren’t they?
BAD!
GOOD!
8. Looks like you’ve planted your new addition perfectly!! Now time for a cuppa….
Now what’s next on the list….
Don’t forget we’re always on hand to answer anything you’re not quite sure about!


